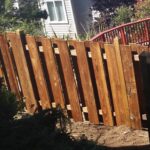
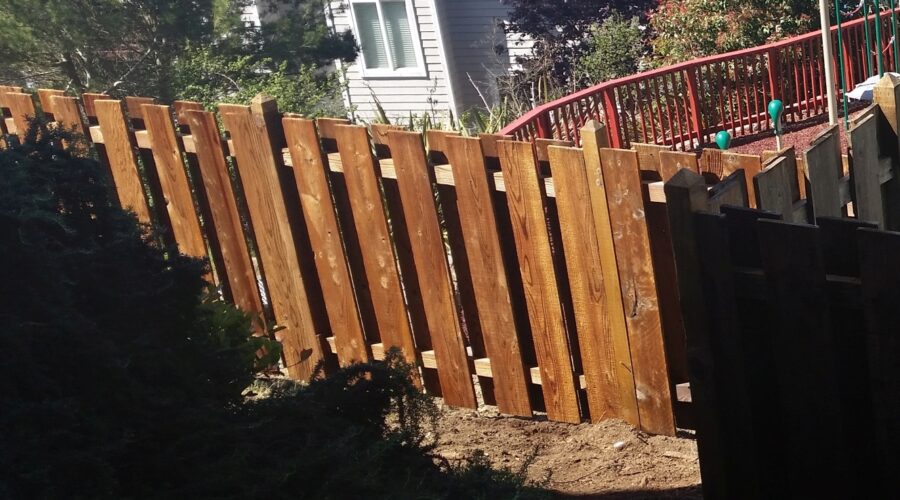
Common Wood Fence Problems and How to Fix Them
Wood fences are a popular choice for homeowners due to their natural beauty, versatility, and durability. However, like any outdoor structure, they can face a variety of issues over time. Here are some of the most common wood fence problems and practical solutions to fix them.
1. Rotting Wood
Rot is one of the most common issues with wood fences, especially in areas with high humidity or frequent rainfall. Rot typically occurs at the base of the fence posts or where water tends to collect.
Solution:
- Inspect your fence regularly for signs of rot, such as discoloration, softness, or crumbling wood.
- Replace affected boards or posts with treated wood that is resistant to decay.
- Apply a water-resistant sealant or stain annually to protect the wood from moisture.
- Ensure proper drainage around the base of the fence to prevent water pooling.
2. Warping and Cracking
Wood can warp or crack due to exposure to extreme temperatures and changes in humidity. This can lead to an uneven or unsightly fence.
Solution:
- Use pressure-treated wood or kiln-dried lumber to minimize warping and cracking.
- Sand down minor cracks and seal them with wood filler.
- Replace severely warped or cracked boards to maintain the structural integrity of the fence.
- Maintain consistent staining or painting to protect the wood from weather-related damage.
3. Loose or Broken Boards
Over time, boards can become loose or break due to weather exposure, impact, or aging.
Solution:
- Tighten loose boards with galvanized nails or screws to prevent further movement.
- Replace broken boards with new ones of the same size and material.
- Regularly inspect and reinforce connections to ensure the fence remains sturdy.
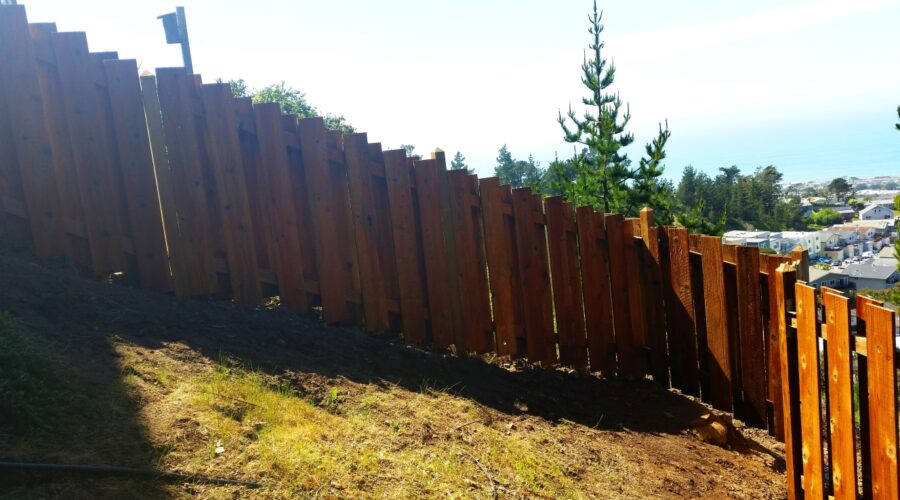
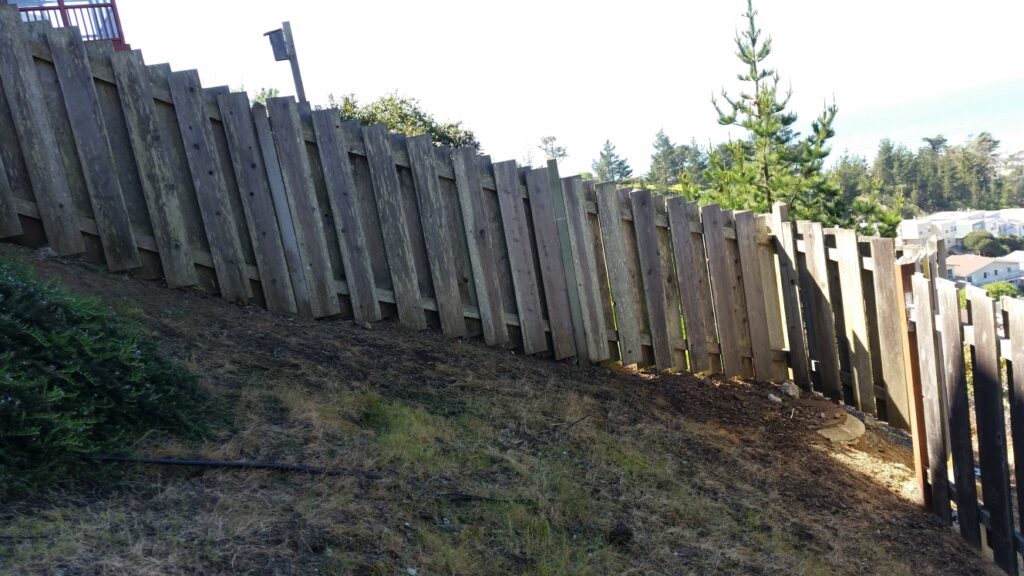
4. Leaning Fence Posts
Fence posts may lean or shift due to soil erosion, improper installation, or damage from high winds.
Solution:
- Dig around the leaning post to expose its base and determine the cause of instability.
- Straighten the post and secure it with temporary supports.
- Add concrete around the base of the post for added stability.
- Ensure posts are buried at least 2-3 feet deep to withstand environmental pressures.
5. Insect Damage
Termites and other wood-boring insects can compromise the integrity of your wood fence.
Solution:
- Treat the fence with insect-resistant products or pressure-treated wood during installation.
- Regularly inspect for signs of insect activity, such as holes, sawdust, or weakened wood.
- Apply insecticides or call a pest control professional if an infestation is found.
- Keep plants and mulch away from the base of the fence to reduce the likelihood of attracting pests.
6. Fading or Discoloration

Sun exposure and weathering can cause wood fences to fade and lose their original color.
Solution:
- Clean the fence with a mixture of water and mild detergent to remove dirt and stains.
- Use a wood brightener to restore the natural color of the wood.
- Apply a UV-protective stain or paint to prevent further fading and prolong the fence’s appearance.
7. Sagging Gates
Gates may sag over time due to wear on the hinges or shifting posts.
Solution:
- Tighten or replace the hinges to restore the gate’s alignment.
- Install diagonal bracing on the gate to provide additional support.
- Check and adjust the posts to ensure they are plumb and secure.
Final Thoughts
Regular maintenance and prompt repairs can extend the life of your wood fence and keep it looking its best. By addressing these common problems early, you’ll save time and money while preserving the beauty and functionality of your fence. With a little care and effort, your wood fence can continue to enhance your property for years to come.
5 Budget-Friendly Ways to Upgrade Your Wood Fence
Wood fences are a classic choice for enhancing privacy, security, and curb appeal. However, over time, they may begin to look worn or outdated. If you want to breathe new life into your wood fence without breaking the bank, here are five budget-friendly ways to upgrade it:
1. Apply a Fresh Coat of Paint or Stain
A simple yet transformative upgrade is giving your wood fence a new finish. A fresh coat of paint or stain not only revitalizes its appearance but also provides added protection against weathering. Choose a color that complements your home’s exterior for a cohesive look. Staining can highlight the natural beauty of the wood, while painting offers a chance to make a bold statement.

2. Install Decorative Post Caps
Post caps are an inexpensive way to add charm and character to your wood fence. Available in various materials such as wood, metal, and solar-powered designs, these caps enhance the overall aesthetic while protecting the posts from moisture and rot. Solar caps also provide subtle lighting for your yard at night, adding both beauty and functionality.
3. Add Hanging Planters or Vertical Gardens
Turn your fence into a feature by attaching hanging planters or creating a vertical garden. This upgrade adds a touch of greenery and can transform your fence into a living wall. Use lightweight planters or repurpose old containers for an eco-friendly option. Choose plants suited to your climate, such as succulents, herbs, or flowers.
4. Incorporate Lattice or Decorative Panels
Enhance the look and functionality of your wood fence by attaching lattice or decorative panels. These additions can create an elegant design while improving privacy. Lattice panels are perfect for climbing plants, adding another layer of beauty to your fence over time.
5. Repair and Replace Damaged Sections
Before adding upgrades, ensure your fence is in good condition. Replace broken or warped boards and tighten loose nails or screws. A well-maintained fence looks more appealing and lasts longer. You can also sand rough spots and fill any gaps or cracks to make your fence look like new.
Final Thoughts
Upgrading your wood fence doesn’t have to be expensive or time-consuming. By applying these budget-friendly ideas, you can enhance its appearance, improve its functionality, and even increase your property’s value. Whether you choose to paint, decorate, or repair, small changes can make a big impact. Start with one project, and soon your fence will look better than ever!
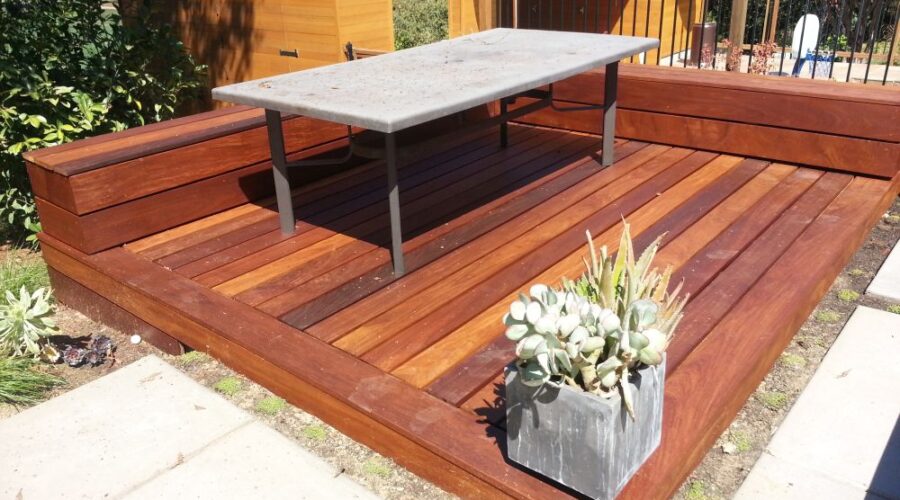
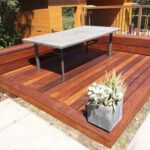
From Faded to Fabulous: Restore Your Deck with These Simple Steps
Your deck is more than just an outdoor space—it’s an extension of your home where memories are made, from summer barbecues to quiet mornings with coffee. Over time, though, exposure to the elements can leave your deck looking weathered and worn. The good news? You can bring your deck back to life with a few simple steps. Here’s how to restore your deck from faded to fabulous.
Step 1: Assess the Damage
Before diving into restoration, take a close look at your deck. Check for:
- Warped or cracked boards: Replace these to ensure structural integrity.
- Loose nails or screws: Tighten or replace them for safety.
- Mold, mildew, or algae: Look for discoloration or slippery areas that need cleaning.
Step 2: Clear the Deck
Remove all furniture, planters, and other items from your deck. Sweep away leaves, dirt, and debris to start with a clean surface.
Step 3: Clean Thoroughly
A clean deck is essential for proper restoration. Choose a cleaning method based on your deck’s material:
- Wood decks: Use a wood-specific cleaner to remove dirt and stains.
- Composite decks: Opt for a non-abrasive cleaner to protect the surface.
Consider using a pressure washer for stubborn grime, but use it cautiously to avoid damaging the wood.
Step 4: Sand the Surface
Sanding helps smooth rough areas and removes any remaining stains or old finish. Use a power sander or sandpaper, starting with coarse grit and finishing with fine grit. Don’t forget to:
- Wear a dust mask and safety goggles.
- Sand along the grain of the wood.
Step 5: Apply a Stain or Sealant
Protect your deck from future damage by applying a stain or sealant:
- Stains: Add color and enhance the natural beauty of the wood.
- Sealants: Provide a clear protective layer to prevent water and UV damage.
Use a paintbrush or roller for even application, and follow the manufacturer’s drying time recommendations.
Step 6: Reassemble and Decorate
Once the stain or sealant is dry, move your furniture and accessories back onto the deck. Consider adding:
- Outdoor rugs: To define seating areas.
- String lights: For ambiance.
- Planters: To bring in a touch of greenery.
Maintenance Tips for a Long-Lasting Deck
- Sweep regularly to prevent dirt buildup.
- Reseal every 1-2 years to protect against the elements.
- Inspect for damage after extreme weather.
By following these steps, you can transform your deck into a stunning outdoor retreat. Not only will it look fabulous, but it will also provide a safe and welcoming space for years to come.

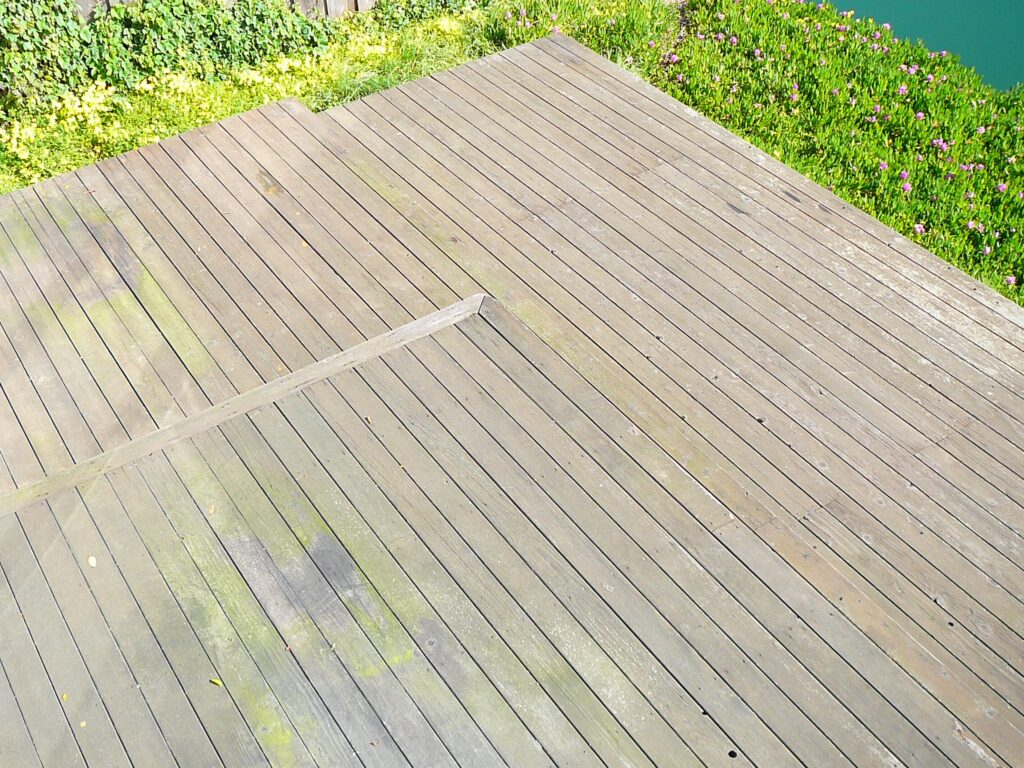
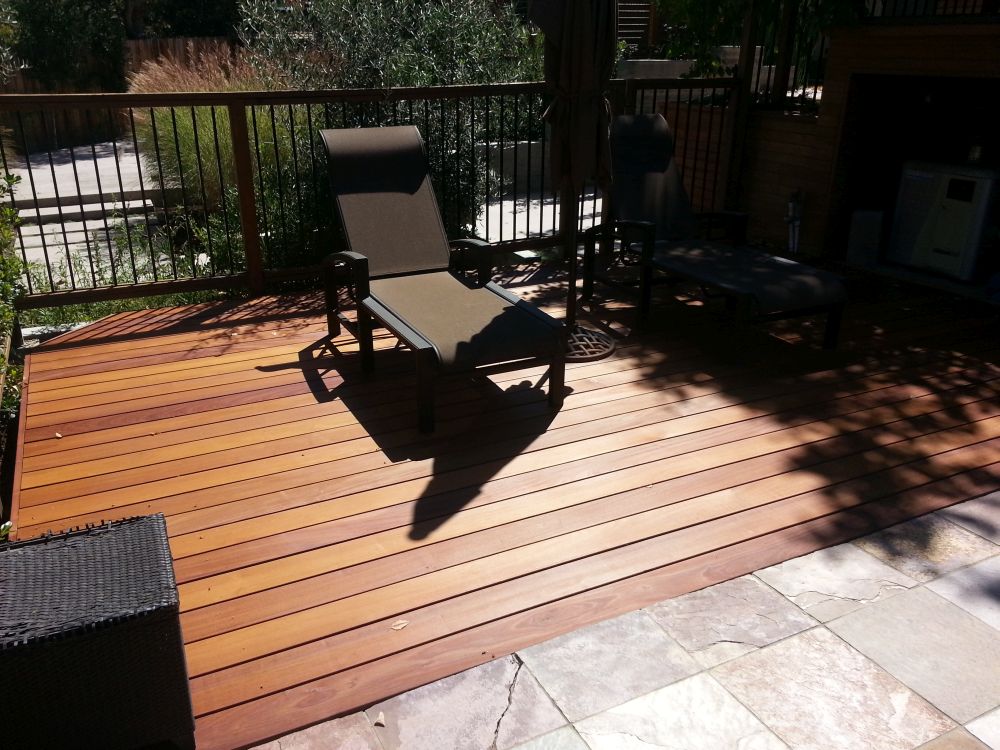
The Ultimate Guide to Deck Maintenance: Keep Your Wood Deck Looking New
A beautiful wood deck can be the perfect addition to your outdoor space, offering a place to relax, entertain, and enjoy the beauty of nature. But to keep your deck looking its best and to ensure its longevity, regular maintenance is key. Over time, exposure to the elements can cause your wood deck to fade, crack, or rot. Fortunately, with the right care, your deck can remain a stunning feature of your home for many years.
In this ultimate guide to deck maintenance, we’ll cover the essential steps for keeping your wood deck in top condition. Whether you’re dealing with a new deck or revamping an old one, this guide will provide you with the knowledge you need to restore, maintain, and protect your deck.
1. Why Deck Maintenance Matters

Wooden decks are constantly exposed to the sun, rain, snow, and humidity, all of which can damage the wood over time. Without proper maintenance, your deck may develop cracks, splinters, and discoloration, and the wood can eventually rot. Routine care can help prevent these issues, keeping your deck not only beautiful but also safe for family and guests.
The Benefits of Deck Maintenance:
- Longevity: Regular maintenance can significantly extend the life of your deck.
- Safety: Proper care ensures the wood remains sturdy, reducing the risk of accidents like splinters or weakened boards.
- Curb Appeal: A well-maintained deck enhances the appearance of your outdoor space.
- Cost Savings: Proactive maintenance prevents costly repairs or replacements down the line.
2. Inspecting Your Deck Regularly
Before diving into cleaning and restoration, it’s important to conduct a thorough inspection of your deck. Regularly checking for potential issues can help you catch problems early, preventing more serious damage later on.
Key Areas to Inspect:
- Wood Condition: Look for signs of splintering, cracking, or warping. If the boards are severely damaged, you may need to replace them.
- Loose Fasteners: Check screws, nails, or other fasteners to make sure they’re secure. Loose fasteners can cause boards to shift or even detach.
- Signs of Rot: If you notice soft spots or discoloration on your wood, it may be an early sign of rot. Inspect the underside of the deck as well.
- Railings and Stairs: Ensure that railings are firm and stable and that stairs are secure. Weak spots here can be a safety hazard.
3. Cleaning Your Deck: The First Step to Restoration
The first step in restoring and maintaining your wood deck is to give it a good cleaning. Over time, dirt, mold, mildew, and algae can build up, which can damage the wood and make your deck look tired.
How to Clean Your Wood Deck:
- Sweep First: Begin by sweeping the deck with a broom to remove loose debris, leaves, and dirt.
- Wash the Surface: Use a garden hose or pressure washer to spray the deck down. If you’re using a pressure washer, set it to a low pressure to avoid damaging the wood.
- Scrub with Soap: Mix a solution of warm water and mild dish soap, or use a deck-specific cleaner. Apply the solution with a scrub brush, scrubbing in the direction of the wood grain. For stubborn stains or mildew, you may want to use a specialized wood cleaner or a solution of bleach and water (1 cup bleach to 1 gallon of water). Always test the cleaner in a small area first to ensure it won’t discolor the wood.
- Rinse and Dry: After cleaning, rinse the deck thoroughly with water and allow it to dry completely before moving on to any restoration steps. It’s important to let the wood dry out for at least 24 to 48 hours, depending on the weather.
4. Sanding and Restoring Your Deck
Once the deck is clean and dry, it’s time to assess whether it needs sanding or restoration. Over time, wood can become rough, weathered, and worn down, which is where sanding comes in.
Sanding the Deck:
- Why Sanding Helps: Sanding helps smooth out rough patches, remove old paint or stain, and prepare the wood for new finishes.
- Use the Right Equipment: A power sander with a medium-grit sandpaper (60-80 grit) is ideal for this job. Sand along the grain of the wood to avoid scratching or gouging the surface. Be thorough but don’t over-sand, as this can damage the wood.
- Clean After Sanding: After sanding, thoroughly sweep and rinse the deck to remove dust and debris. Let the deck dry again before proceeding.
Restoring the Finish:
If your deck was previously stained or sealed, you may want to restore the finish to protect the wood and give it a refreshed look.
- Choose the Right Stain or Sealant: Select a high-quality deck stain or sealant designed for wood decks. Choose an oil-based stain if you want to enhance the natural look of the wood, or a solid color stain for a more uniform appearance.
- Apply the Stain or Sealant: Use a brush or roller to apply the stain or sealant evenly across the surface. Start at one end of the deck and work your way across, following the wood grain. Be sure to apply in thin coats, allowing each coat to dry before adding another.
- Sealing for Protection: If you want extra protection against water and UV rays, opt for a deck sealant. This will help protect the wood from rot and fading.
5. Protecting Your Deck Year-Round
Once your deck has been cleaned, sanded, and restored, it’s important to keep up with routine maintenance to ensure it stays in good condition.

Seasonal Deck Maintenance Tips:
- Spring: After winter, check for any damage caused by snow, ice, or freezing temperatures. Clean the deck, inspect for any repairs needed, and apply a new coat of sealant if necessary.
- Summer: Check for mold or mildew buildup due to humidity. Keep the deck clean by sweeping regularly and washing it down after heavy rain.
- Fall: Clean up fallen leaves and debris before they can trap moisture on the deck, which could lead to mildew or rot. Clean the deck thoroughly and consider applying a fresh coat of sealant.
- Winter: In areas with freezing temperatures, consider covering your deck with a tarp or breathable cover to protect it from snow and ice. Avoid using harsh chemicals to melt ice, as these can damage the wood.
6. Preventing Future Damage
To keep your deck looking new for years, it’s important to prevent damage before it occurs.
Preventative Tips:
- Use Furniture Pads: Protect your deck from scratches and dents caused by heavy furniture or planters by using furniture pads or coasters under legs.
- Clean Spills Immediately: Oil, food, or drink spills can stain your deck. Clean spills as soon as they happen to prevent stains from setting.
- Use a Deck Protector: If you live in an area with heavy rain or sun, consider applying a UV-resistant deck protector that helps prevent fading and cracking caused by the elements.
7. When to Call a Professional
While regular maintenance is something any homeowner can handle, some restoration tasks require professional expertise. If your deck has severe damage, rot, or needs structural repairs, it’s best to call in a professional wood care service. They can assess the situation and perform repairs safely and effectively.
Final Thoughts
Maintaining a wood deck requires time and attention, but the results are worth it. By following these simple steps for cleaning, sanding, staining, and sealing, you can keep your deck looking beautiful and functional for many years. Regular inspection and preventative care will also help you avoid costly repairs and ensure that your outdoor space remains a safe and inviting place for you, your family, and guests to enjoy.

10 Best Materials For Your New Deck
Lorem ipsum dolor sit amet, consectetur adipiscing elit. Vivamus semper sapien nunc, non scelerisque enim ornare mattis. Nullam vel ornare est, sed convallis risus. Aliquam erat volutpat. Fusce molestie arcu eu odio porttitor dictum.
Continue Reading
Creative Built-in Benches for Your Deck
Lorem ipsum dolor sit amet, consectetur adipiscing elit. Vivamus semper sapien nunc, non scelerisque enim ornare mattis. Nullam vel ornare est, sed convallis risus. Aliquam erat volutpat. Fusce molestie arcu eu odio porttitor dictum.
Continue Reading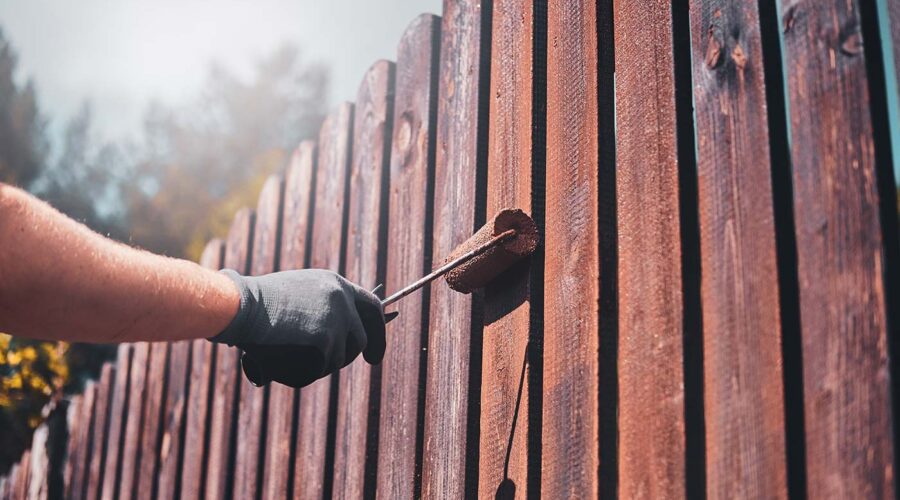
Best Stains for Your Redwood Fence
Lorem ipsum dolor sit amet, consectetur adipiscing elit. Vivamus semper sapien nunc, non scelerisque enim ornare mattis. Nullam vel ornare est, sed convallis risus. Aliquam erat volutpat. Fusce molestie arcu eu odio porttitor dictum.
Continue Reading